Manage changes with GitHub branches
In the Edit Steps Locally section, we walked through
the process of creating and adding your changes to the main branch of a
project.
However, most code change to workflows involve sharing and reviewing changes
before deployment. You can do this by creating, testing and sharing your changes
on a new GitHub branch, then, once final, merging them into main for
deployment.
There are LOTS of different strategies for branching and reviewing code on Git. (Like GitHub Flow or "That Famous @nvie Post" for example!) This guide is meant to give you a very brief introduction to branches in Git, but it is not meant to dictate the "right way".
Let's pick up the workflow when you git pull -ed the latest changes of the
repo to your local folder.
-
Running
git checkout -b {branch_name}will create and switch over to a new branch. When you start editing your steps, the changes will be kept on this branch, managed separately frommain. -
To test the changes locally, check out the The CLI docs.
-
Just as you've seen when working on
main, when you're done check which files you changed withgit status. -
Then use
git add {filepath}followed bygit commit -m {change notes}to prepare the changes to be merged into the repo. -
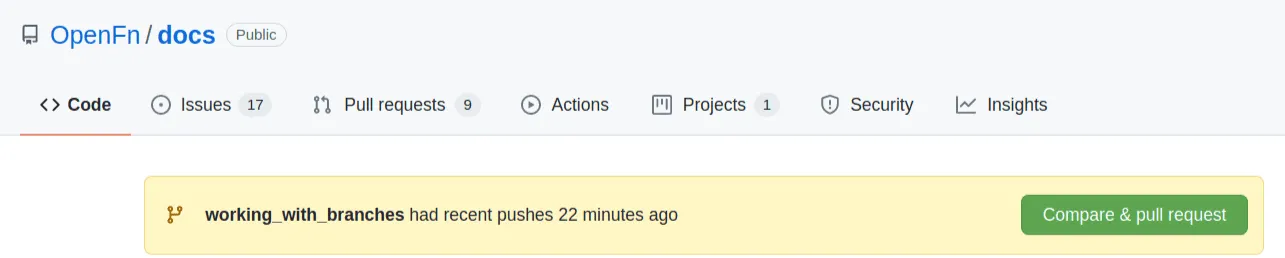
The following command will push your changes to the remote repository as a separate, new branch:
git push --set-upstream origin {branch_name}. -
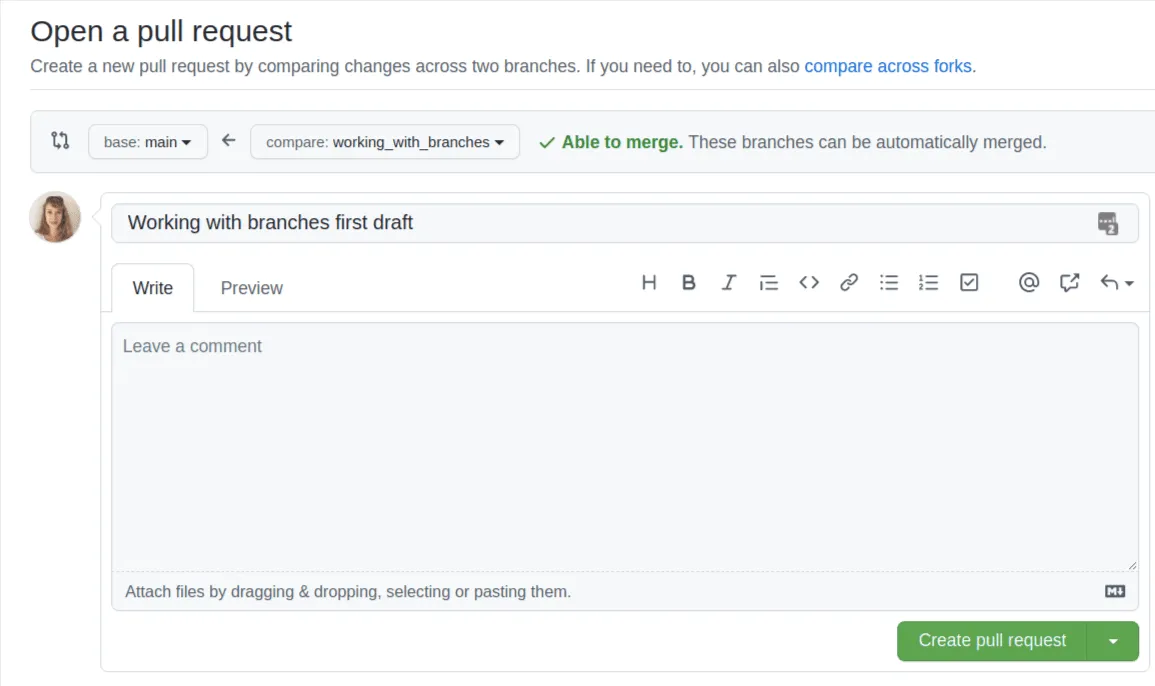
On GitHub, you can create a Pull Request to get your changes reviewed and approved.
-
As you keep working with branches, make sure you check which branch you're on with
git status.

-
To keep your local copy up to date with the remote repo, switch to
mainwithgit checkout mainand hitgit pullto pull any changes. -
If you're still working on your separate branch while
mainhas been updated remotely and want integrate the remote changes, usegit checkout main, thengit pull, thengit checkout {working_branch_name}followed bygit merge mainto merge changes frommaininto your working branch.