Version Control for Staging and Production Projects
It's a safe and efficient practice to use separate production and staging/testing projects to build out and test your workflows before starting to use them in production. This can be made seamless using Version Control. This guide walks you through how to set up your OpenFn projects and GitHub repo and gives you two examples of how to manage your Staging > Production workflow: one for new projects, and one for existing projects where you want to add a staging project and branch.
Setup for new projects
- First, create a
Productionand aStagingproject on OpenFn (2 projects)

- Choose/create a GitHub repo for your project, and create a
stagingbranch

-
Connect your projects to the
mainandstagingrespectively - use this guide to set up the connection -
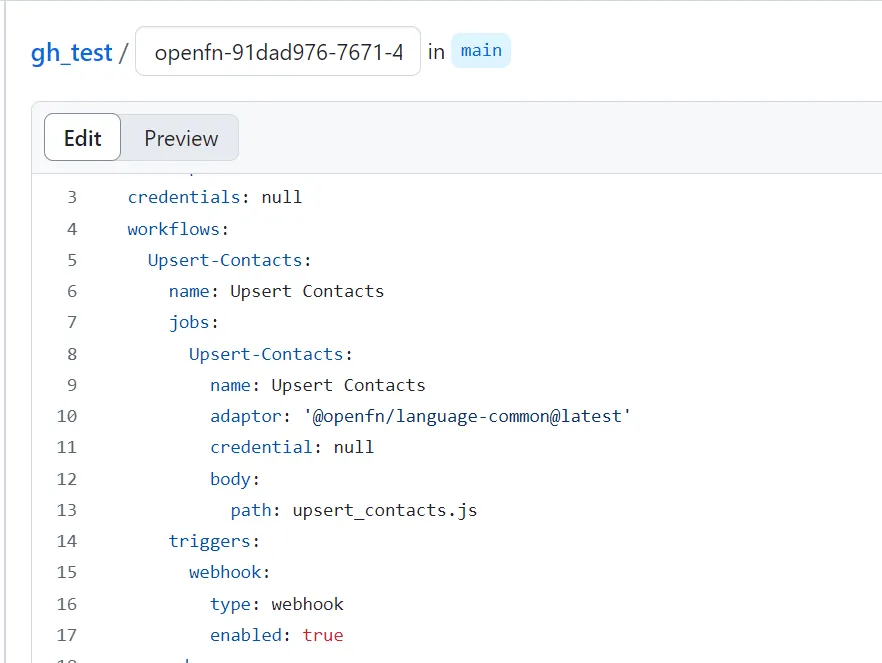
In each repo, create an empty
.jsfile for your job. Make sure they have the same name and path on each repo (e.g.upsert-contacts.js). These will store the code for the job they'll be linked to in the next step. -
When you connected the branches to your projects in step 3 above, there was a
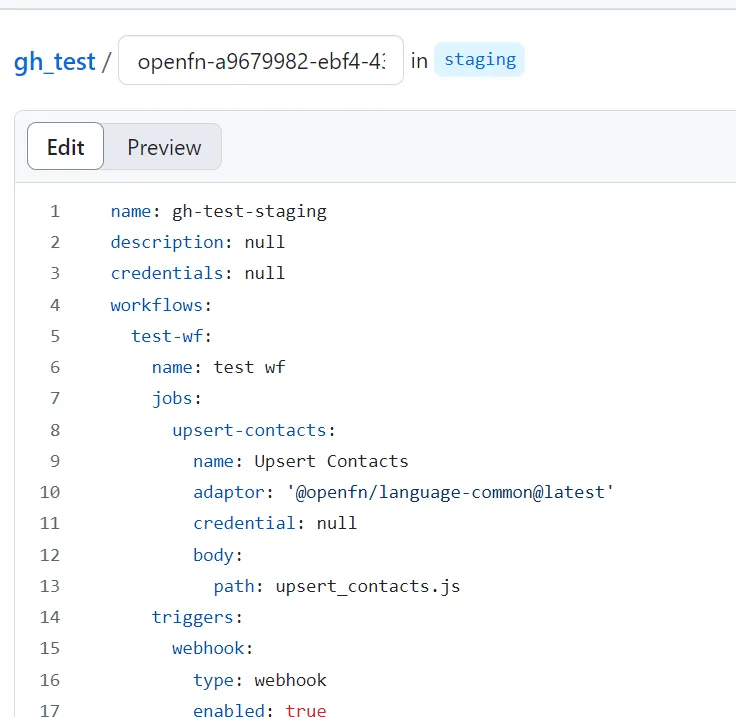
spec.yamlfile automatically created on the branch after the first sync (along with two other configuration files). Open these files on GitHub, and locate your job in the file. Replace the contents ofbodywith:path: {path to the related js file}. Do this on both yourmainandstagingbranches.
- You're now all set up!
- To sync a change from your Staging project to Production using the OpenFn app, go to your
Stagingproject on OpenFn and make edits to your job. Then go to your project'sSettings> Sync toGitHub, and clickInitiate Sync to Branch. - Alternatively, you can make edits directly to the job code on Github, and commit them to the
stagingbranch on Github. - Once you've committed edits to your
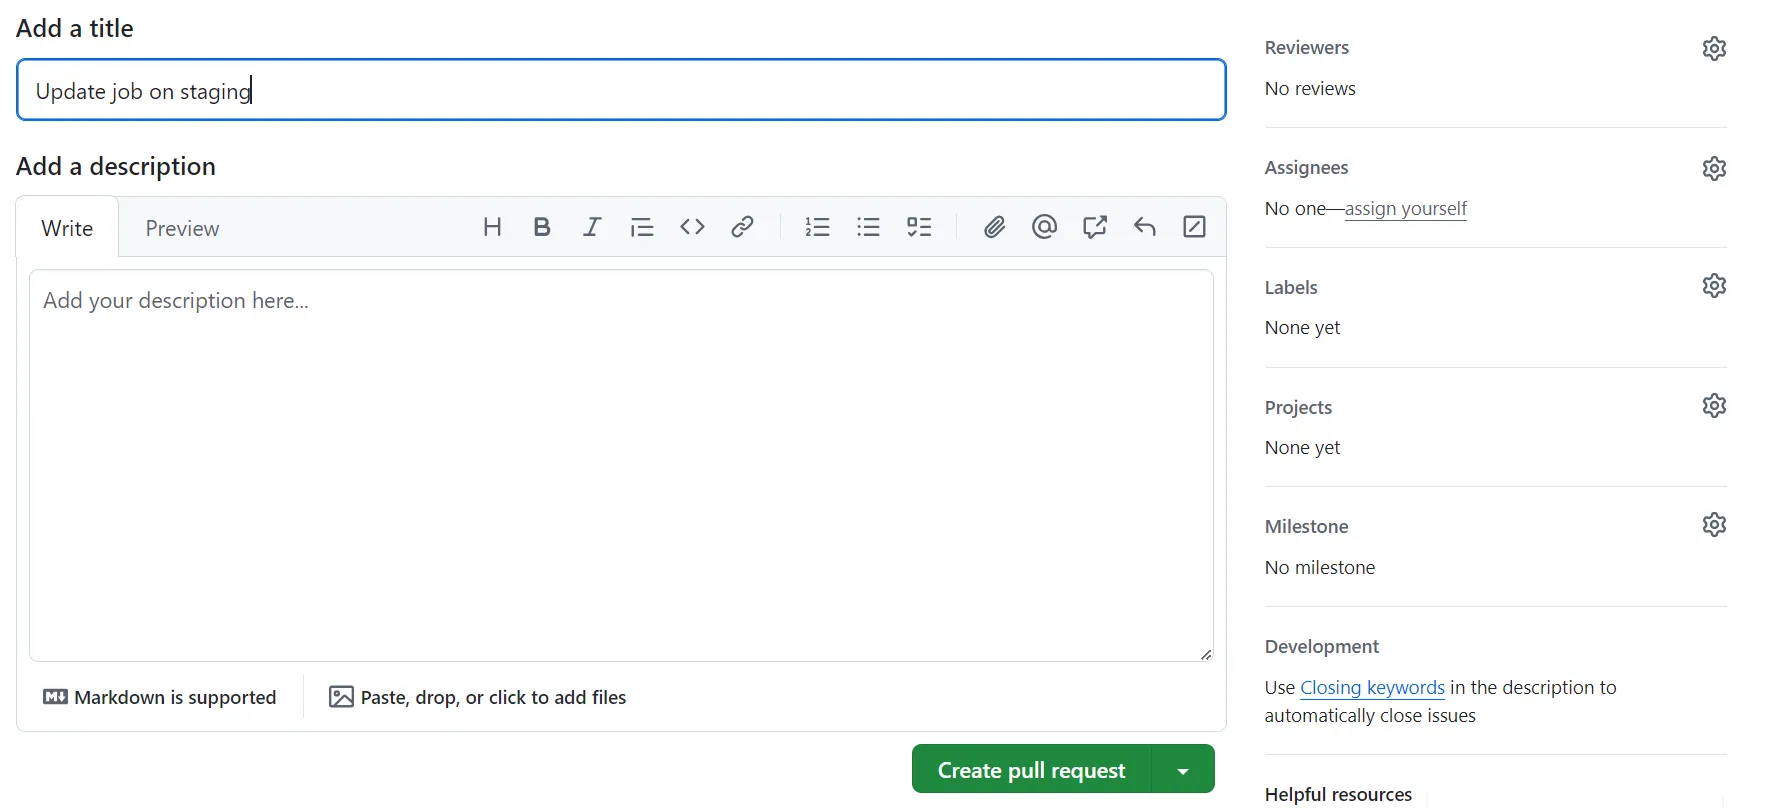
stagingbranch, on Github you'll see an update that there have been recent changes. ClickCompare & pull request.

- Create a Pull Request. This will automatically include all changes that happened to the files on the staging branch.
-
Depending on your team's Github workflow, either have someone to approve and merge the Pull Request, or click
Merge pull request. -
Your changes will now be automatically deployed to your OpenFn
Productionproject (linked to themainGithub branch).
Setup for existing projects
- First, make sure that the code of all your jobs are stored in separate
.jsfiles (likeNotify-CHW-upload-successful.js) on Github that are linked in yourspec.yamllike so:
Notify-CHW-upload-successful:
        name: Notify-CHW-upload-successful
        adaptor: '@openfn/language-http@latest'
        enabled: true
        # credential:
        # globals:
        body: |
          path: ./workflow/Notify-CHW-upload-successful.js
You can find more information on this setup in our Github docs.
- When this is set up, create a new
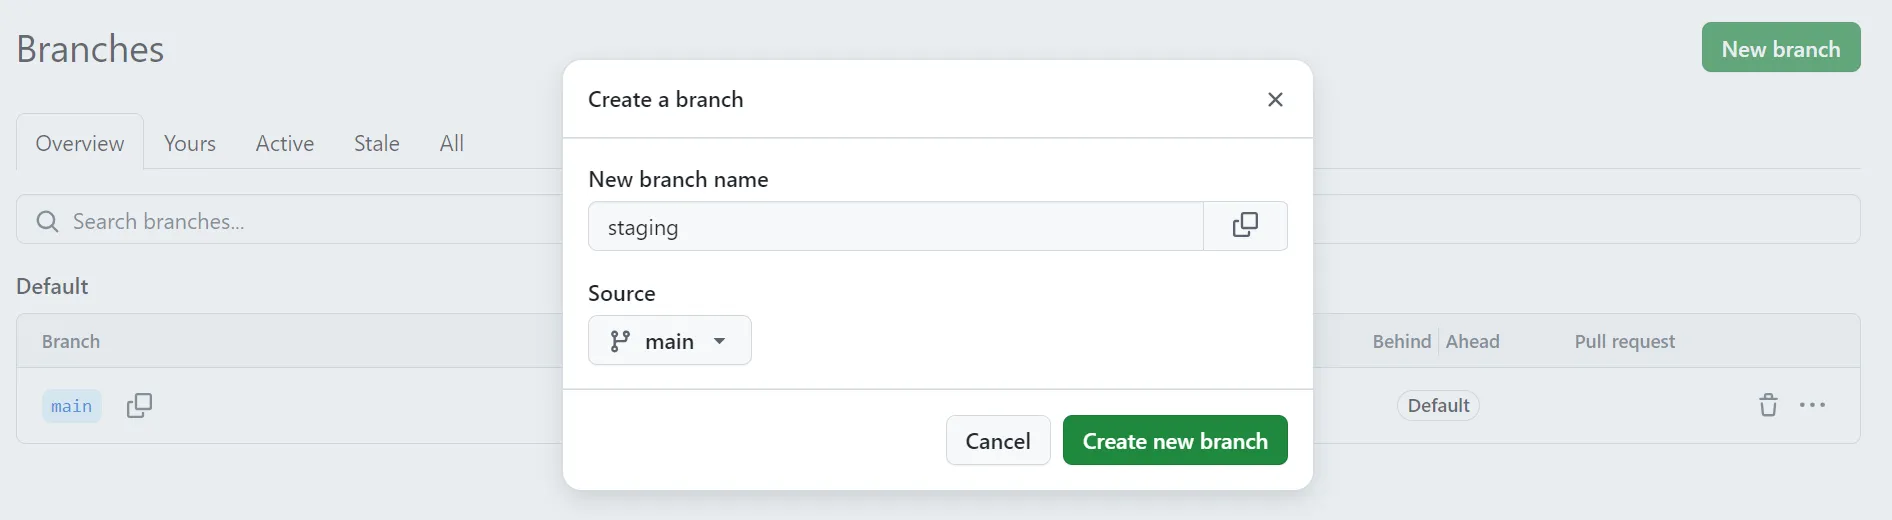
stagingbranch on Github based on your existing productionmainbranch that stores your current project. To do this, on your Github repo click intoBranches(where it show1 Branchin the screenshot below).

- Click
New branch, give it a name likestaging, make sure the source ismainif you have multiple branches already. Then clickCreate new branch.
-
Navigate over to your new
stagingbranch. Here comes an important step. Note how the new branch now contains the 3 configurations files (config.json,spec.yamlandstate.json) that were present on the main branch. Delete these from thestagingbranch. New ones specific to the staging branch will be created in the subsequent steps. -
Now head over to OpenFn, and create a new
Stagingproject. -
Following this guide, set up Github connection with your
stagingbranch, and clickInitiate a sync(via the projectSettings > Sync to Githubpage). This will create the necessary config files in the Github branch. -
In the newly generated
spec.yamlfile on thestagingbranch on Github, link your job.jsfiles as explained in Step 1. -
When you initiate a new sync from OpenFn, the job code from the workflows configured in the app will be synced to the individual OpenFn job files on Github.
-
To make future changes to your "Staging" project, see steps #7-12 above in the
Setup for new projectssection of this guide.