Webhook Security
This page guides you through the steps of adding an additional layer of security to your webhook.
Adding a Webhook Authentication Method
In your OpenFn projects, you can utilize webhooks to receive data from external applications using a Webhook Trigger. When using a webhook, you can require external applications to authenticate before sending your project data for more security.
OpenFn supports Basic HTTP Authentication using username and password, and API
Key Authentication using the x-api-key request header.
Adding Authentication Via Project Settings
You can add a new Authentication Method under Webhook Security of your
Project Settings. The authentication you set up here can then be used in any
of your Workflows within this Project.
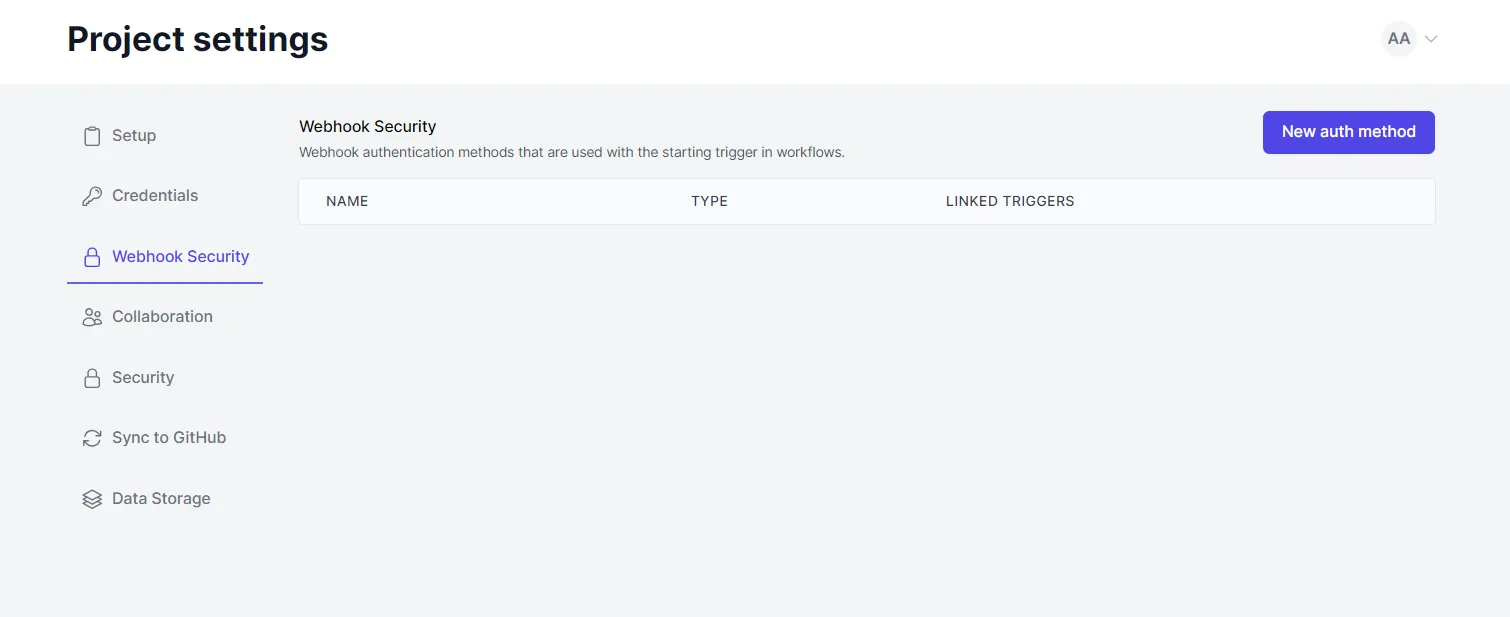
After clicking New auth method, choose the type - Basic HTTP or API Key
Authentication.

Basic Auth
For Basic Auth, give it a name, choose a username and password, and hit
Create Auth Method.

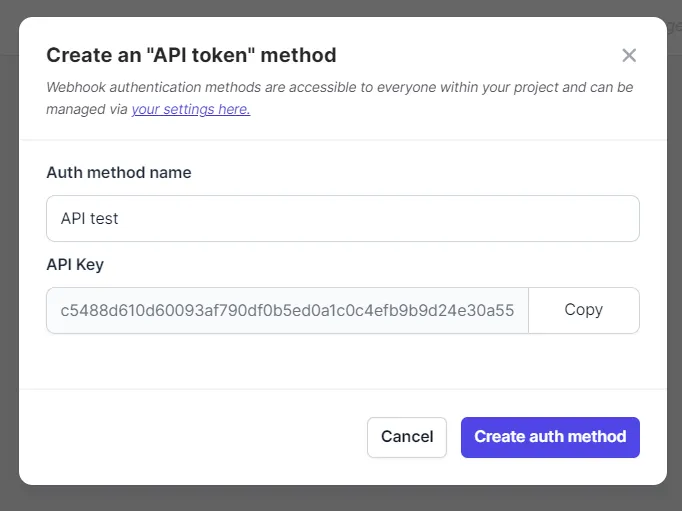
API Key
For API Key, just choose a name, and click Create Auth Method. An API key is
generated for you.
You can edit or delete your auth methods on this page as well.
// screenshot
Once you added an auth method to a webhook, it will show up under
Linked Triggers.


Adding Authentication Via a Workflow
On your Workflows you can use the auth methods you created under
Project Settings, or you can create a new one.
When you click on Add authentication under Webhook Authentication, select a
(or multiple) existing method(s), or hit Create a new webhook auth method.
Refer to the Basic Auth and API Key sections above for details on adding
these.
Once you've added an auth method, it will show up in your Webhook Trigger configuration.
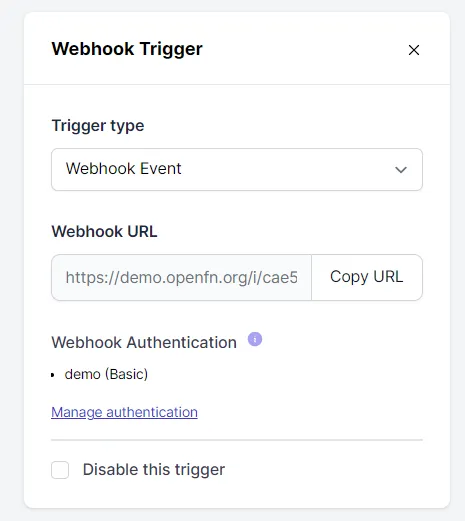
Only requests using these required auth details will be able to send data to your Workflow.